DIY Scarf Flats
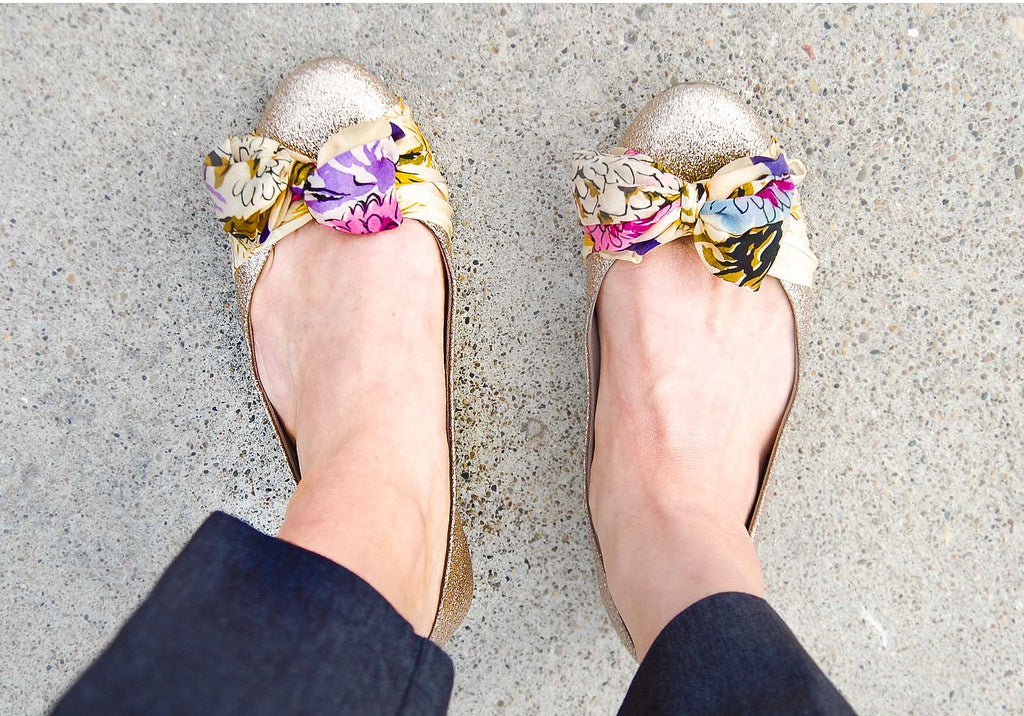
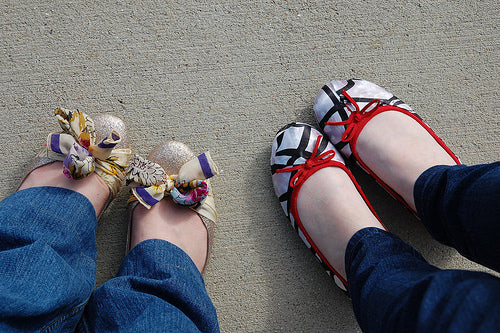
We were pretty crafty today in the SDN office while we refashioned some flats with scarves.
Whenever I saw these shoes on Anthropologie, I knew I had to try and make a version of my own. At the time, the price of Anthropologie’s version was $148.00, but now they are on sale for $78.00. Ahem. What a deal? ;)
The inspiration:

photo from anthropologie.
Step 1: For this project, you need a pair of flats, (Mine are from Payless and I highly recommend them.) some thread, a needle, scissors, and a scarf of course. I used a vintage scarf that my mom had used in a previous DIY project. I just thought it was too pretty to be stuck lying around.

Step 2: Next you need to cut up your scarf into four strips. You need to cut the strips wide enough so that you can fold them in half, stitch them up, and then flip them inside out. (In the end you will have a little scarf tube to sew to your flats.)
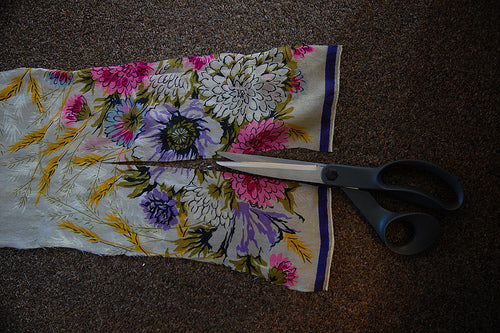
Step 3: Now you need to sew the little strips into tubes. I stitched the tubes by hand, (because I am crafting at work, of course #yeahwork!) but I recommend stitching the tubes up with a machine.
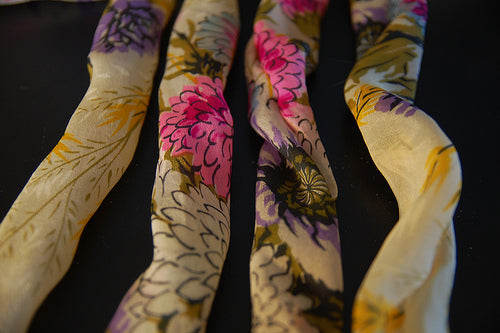
Step 4: After you’ve stitched the little scarf tubes, you just start stitching the fabric to your flats. This is where a thimble comes in handy because as I am typing this, my fingers are in a little bit more pain than usual because I stabbed myself with the needle a few times. Don’t be stupid like me. Use a thimble. :)
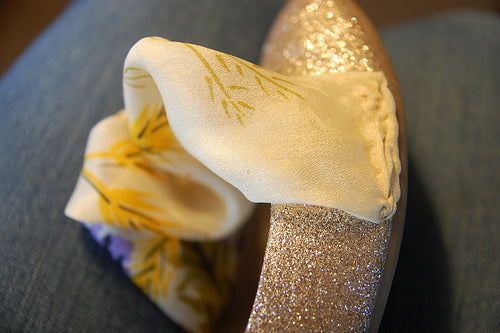
Step 5: After you have both of the sides of your bow stitched to your shoe, all you have to do is tie it up. If your scarf tube is too long, just cut it to size and stitch the edges under so they do not fray.
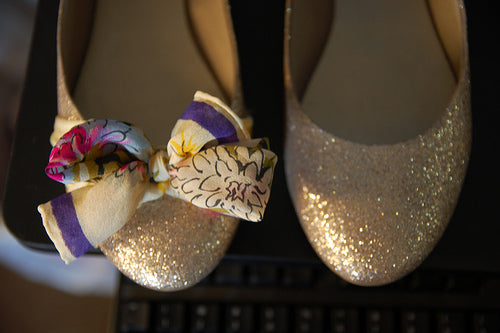
For Maggie’s Scarf Flats:
While I love to sew, my vacation-brain forgot to bring some needle and thread to the office! I brainstormed, found some glue, and came up with the idea of just covering the entire shoe in a scarf.
Step 1: Gather your goods: a scarf, scissors, tacky glue, shoes, and a lighter or candle (if your scarf ends fray after cutting).
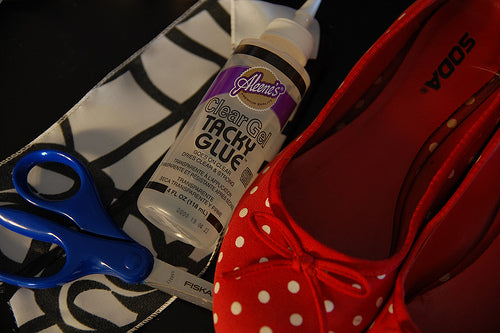
Step 2: Cut your scarf into strips. For my shoe, I kept the strips the length of the scarf, and about 1 1/2 inches wide. I cut the length off as needed to fit the shoe. This is where you’ll need your lighter to burn the edges if they fray.

Step 3: Starting from the back of the shoe, apply a decent layer of tacky glue to the shoe (I squeezed it straight from the bottle) and firmly apply the scarf to the shoe, fitting the edges. If there are parts where the scarf needs cut, chop those away. Work the scarf from the back of the shoe to the front, smoothing as you go.
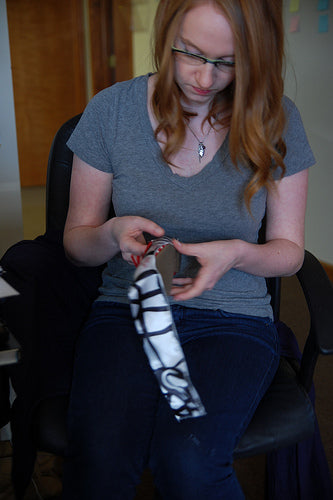
Step 4: Let the glue dry before you strut around the office showing off your new DIY shoes. Wearing them before they’re dry will cause the fabric to wrinkle and separate from the shoe– no good!
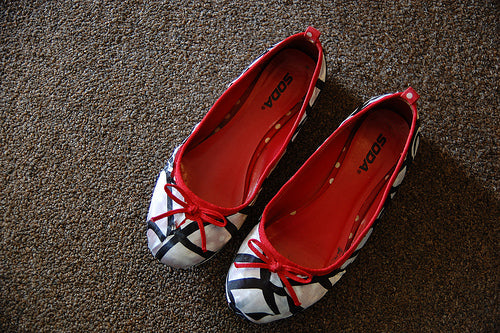
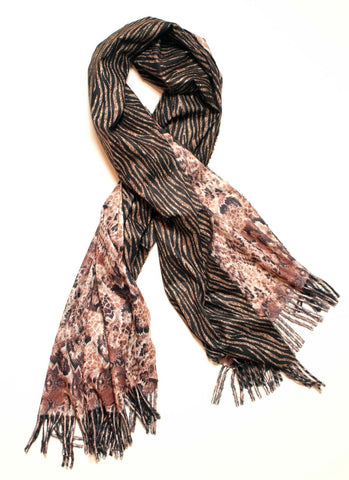
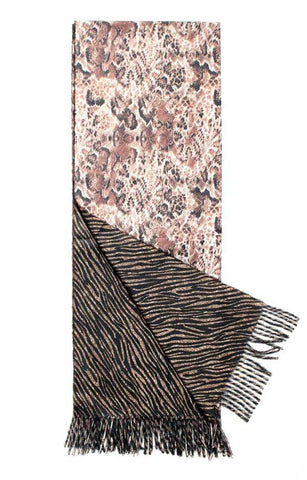
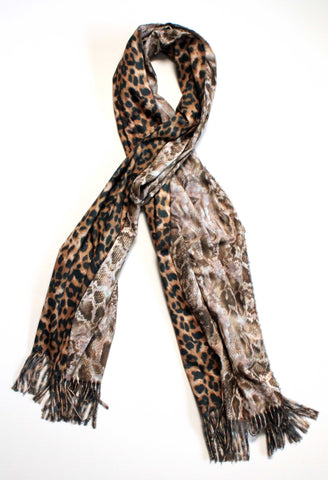
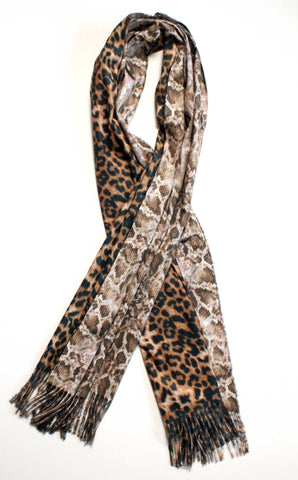
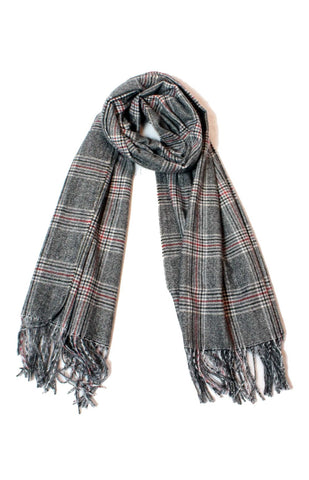
But that’s it! So easy, and so sassy! If you like the scarf that I used, you can get your own here.
There's no place like home! Take me back to ScarvesDotNet.
