

How To Make an Ombre Scarf Chandelier
Want to make the perfect decoration for your New Year’s Eve party or just something awesome for your next get together? You can make your own ombre chandelier using scarves!
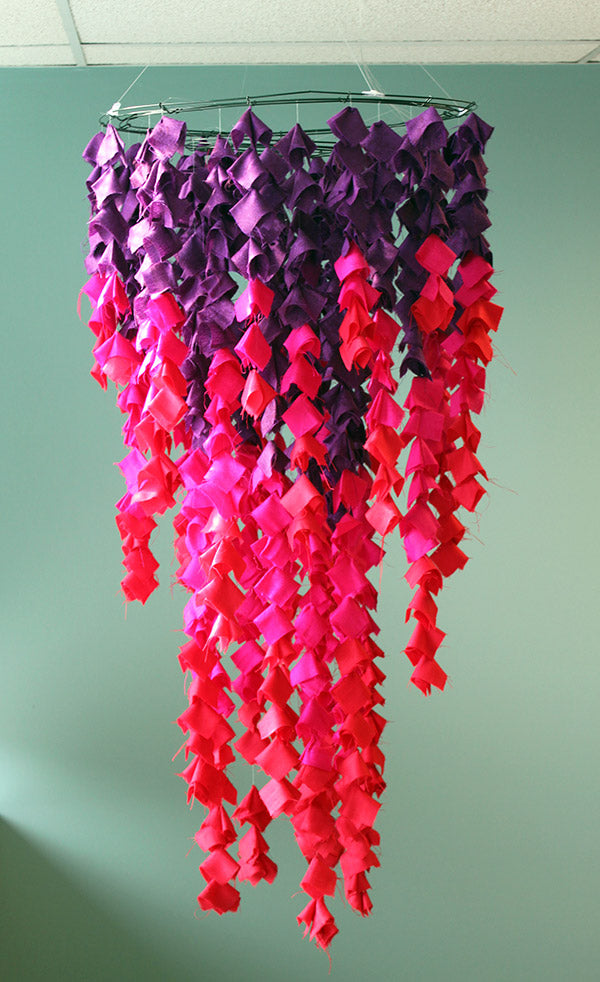
To make this talk-of-the-town centerpiece, there are two crucial phases: Setting up the frames and quantity of strands and, then, creating the strands. No worries. We have step-by-step instructions to get you this magnificent decoration piece in no time! (Okay, truth be told, it takes a few seconds. But, the end product is well worth it.)
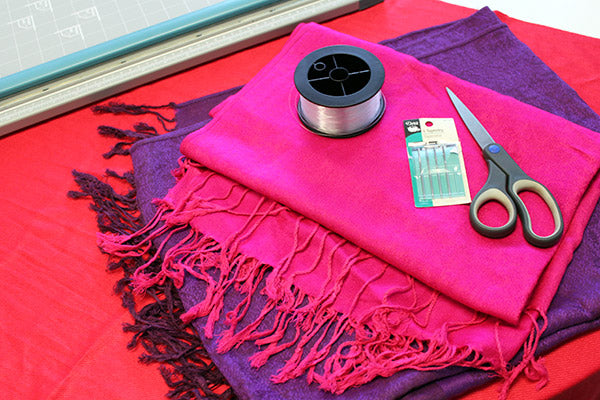
What You’ll Need:
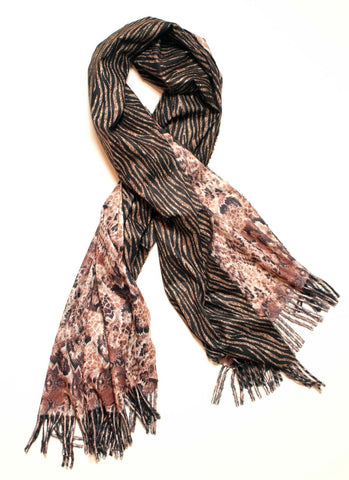
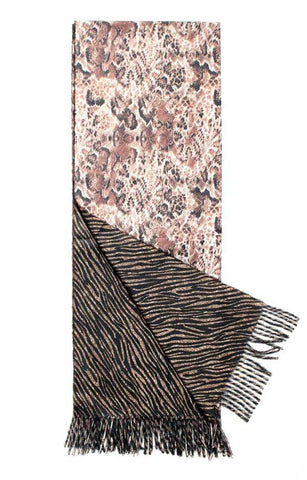
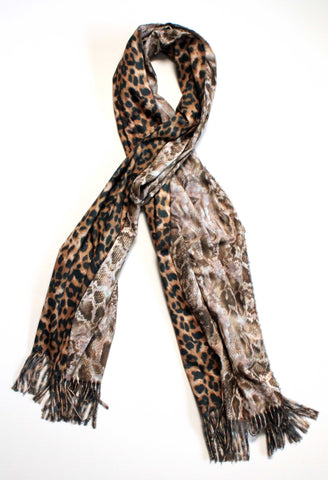
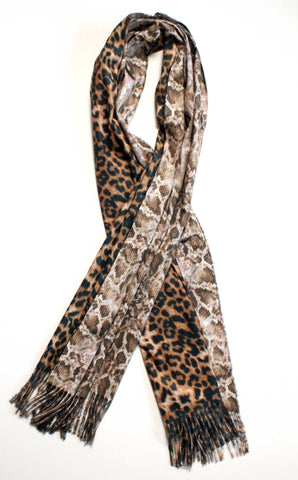
- Scarves (Luckily, we have plenty of those around here! We used these: 3 red, 4 pink & 5 purple.)
- Tapestry needles
- Two wire wreath frames, one larger & one smaller (Ours were 24 inches and 12 inches.)
- Fishing line (We used line with a 4-pound weight limit for the strands and line with a 25-pound weight limit to hang the finished masterpiece.)
- Scissors
How To Set Up the Wire Wreaths & Quantity of Strands:

Step One – String the two wire wreaths together using the 25-pound fishing line. The smaller frame should appear to be floating inside the larger frame when you’re done.
Step Two – You have to be somewhat “mathematic,” if you will, about the quantity of strands used on the wreaths, in order to create an impressive tiering effect. Think about the impact you want your chandelier to have (size it up), and plot it out on paper beforehand. Here is what we calculated for ours…
For the inner ring, we used the 12-inch (smaller) wire wreath. This ring contained the longest strands for the chandelier, referenced as XXL and XL below. We had a total of 12 strands here — alternating 6 of each size around the ring.
The outer (larger) ring had 24 strands. Alternate the length of your strands (maybe 8 of 3 lengths) for variation. Referenced below, we used the S, M, and L lengths here.
Our Strand Lengths:
XXL (46 inches long)
XL (40 inches long)
L (24 inches long)
M (22 inches long)
S (16 inches long)
How To Create the Strands:

Step One – Prepare your 4-pound fishing line. Thread the line through a tapestry needle, just like you would to sew. At the base of your line (the bottom of what will be your strand), tie a small button or bead.
Step Two – Cut the scarves into squares. (We used scissors, but a fabric cutter probably would have helped!) The size of your squares will need to be scaled to the size of your chandelier. Our chandelier was large, so we cut 4-inch x 4-inch squares.

Step Three – Take an individual square and fold it in half. Take that half and fold it in half, again, to create a small square.
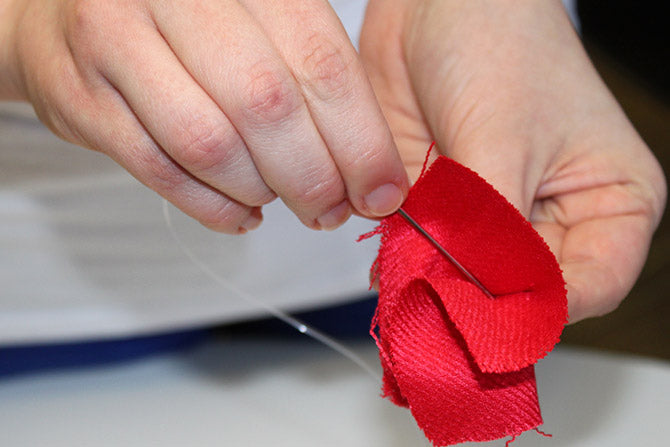
Step Four – Hold the small square like a diamond with one top point. That top point should be the uncut corner.
Step Five – Thread your prepared line through an open side of the square and up through that top corner. Slide that square to the bottom of your line, where it will meet the button/bead. This is the base of your strand. Fabric should cover the button/bead, so it’s not visible.
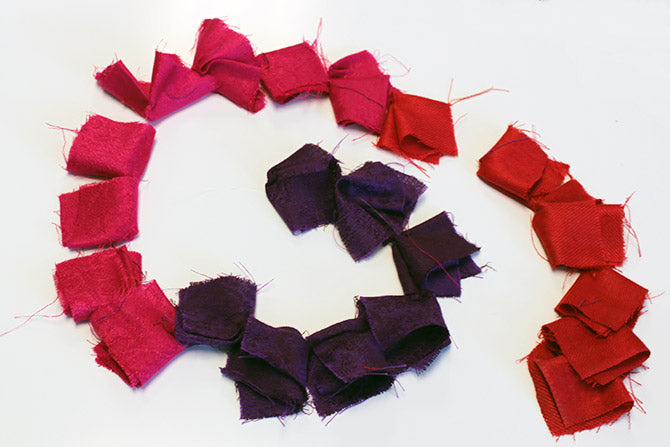
Step Six – Thread all remaining squares for that line as you did the first, but adding an extra stitch through the top corner of each, as if you’re knotting it to the line. This will secure the squares in place. Spread the squares evenly (or to your liking) up the strand. To create an ombre effect, use three colors of squares on each strand, varying the number of each according to your taste.
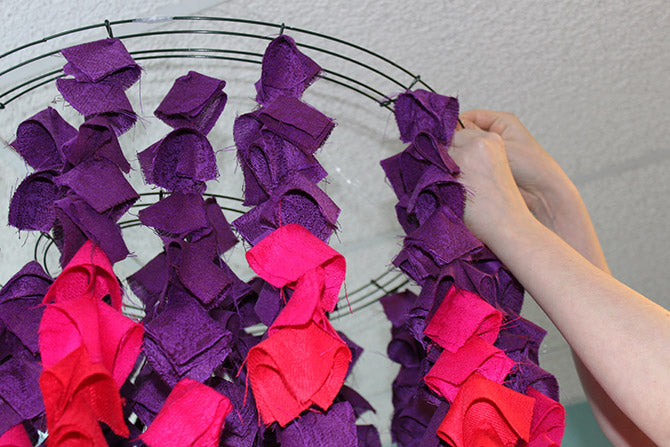
Step Seven – Attach the strings to the wire wreath frames, tying them off as suggested under “Step Two” of “How To Set Up the Wire Wreaths & Quantity of Strands.”

If you’re more of a visual learner, here’s a similar video tutorial that you can follow.
There's no place like home! Take me back to ScarvesDotNet.