How to Make Chalkboard Frames
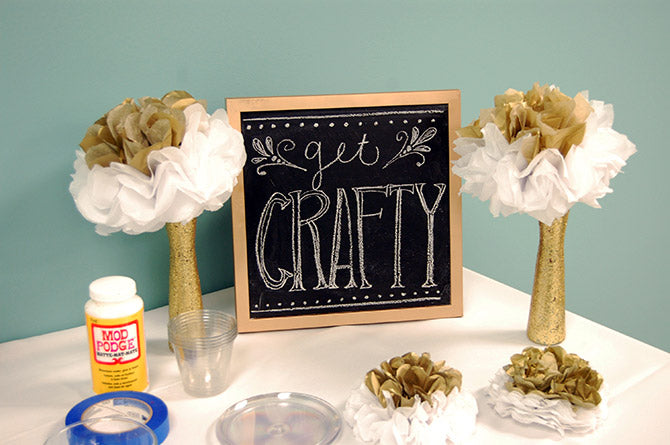
Dry erase boards may have taken over the classrooms, but at Scarves Dot Net, we adore the current chalkboard craze! From walls to mugs and even refrigerators, there’s seemingly no limit to what you can coat with chalkboard paint. We decided to create the perfect framed chalkboard signs for our crafting tables. Check out our steps below, and learn how to make your own.
(Please Note: Since the project calls for two layers of chalkboard paint, each layer needing to dry overnight, set aside a couple of days for the project to be finished. But trust us — it’s super easy to do … and fun!)
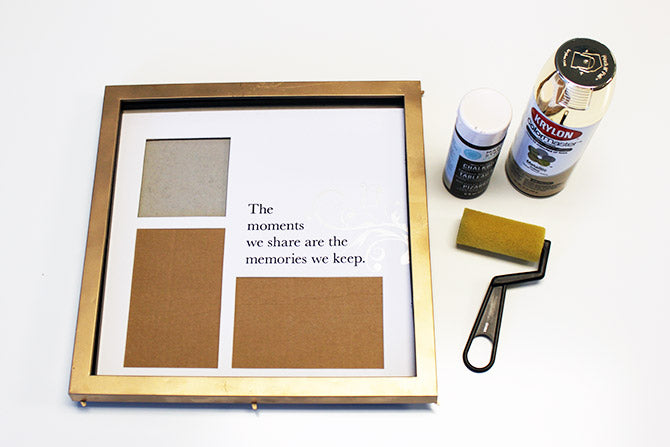
What You’ll Need:
- Chalkboard paint (We used this.)
- Paint roller or sponge brush
- Spray paint (We used “Krylon Metallic Gold.”)
- Old or cheap frame (Ours came from the clearance section at Walmart.)
How-To:
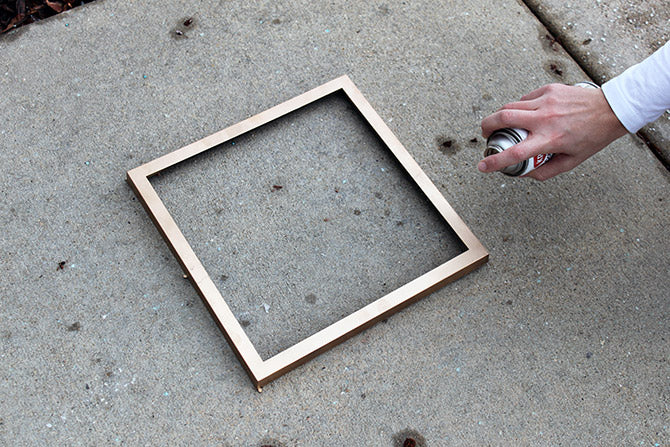
Step One: Disassemble the frame, separating it from the glass.
Step Two: Spray paint the frame in your color of choice. (We went gold!) Let it dry overnight.
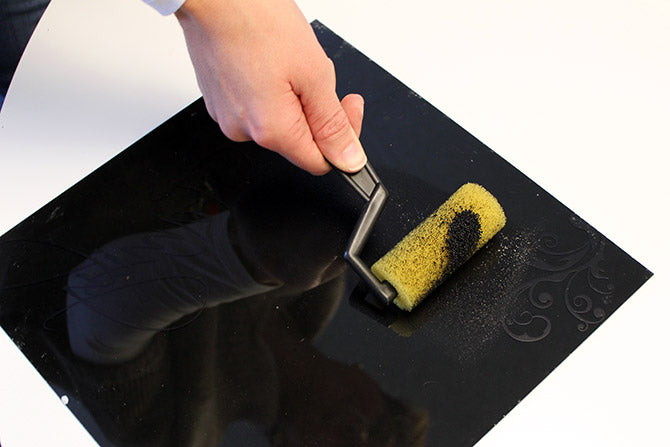
Step Three: Pour the chalkboard paint onto the glass, and spread the paint until a moderate layer covers the glass entirely. (Once-over should do this time around.) Let it dry overnight.
Step Four: Apply a second coat of paint to the chalkboard — again, don’t make it too thick. Let this layer dry overnight as well.
Step Five: Reassemble the frame. (We also built a back on ours using cardboard and ribbon.)
Step Six: Ask someone with mad calligraphy skills to write your message of choice!

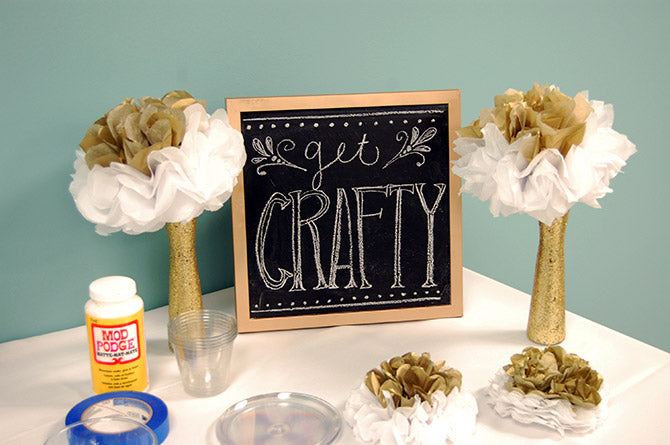
This is a super easy DIY. Let us know what challenging projects you’ve taken on with chalkboard paint! The possibilities are nearly endless.
There's no place like home! Take me back to ScarvesDotNet.
